How to Make Your Own Spell Candles for Powerful Rituals
Across cultures and traditions, candles have long been used as vessels of transformation. A flame is not only light. It is intention made visible, a steady force that carries thought into motion and desire into form.
Wax holds energy. Fire releases it. Together, they create a bridge between the inner world and lived experience. This is why spell candles are more than tools. They are quiet partners in your spiritual work, shaped by your focus and guided by your intention.
When you make your own spell candle, you enter into that relationship with awareness. Each step becomes part of the work itself. Each choice carries meaning. What begins as a simple candle becomes something personal, focused, and alive with purpose.
Before You Begin Your Spell Candle Ritual
Before lighting any candle, take time to prepare your space and your state of mind. A calm, grounded environment allows your intention to take hold without distraction.
Cleanse your space in a way that feels natural. You may pass incense through the air, lightly wash your hands with spiritual water, or sit quietly and breathe until your thoughts slow down.
Bring your focus inward and set a clear intention. Avoid vague wishes. Be honest about what you truly seek beneath the surface. The more precise your intention, the stronger your work becomes.
As you gather your materials, keep them simple and meaningful. A candle, a ritual oil, and a quiet space are enough to begin.
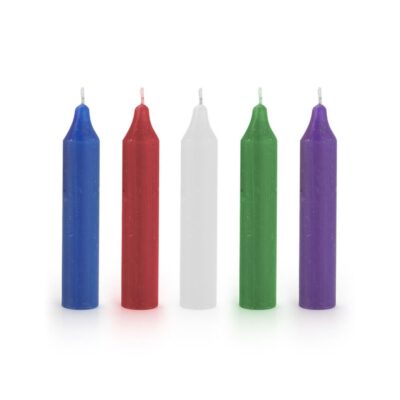
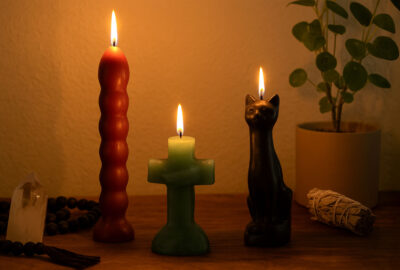
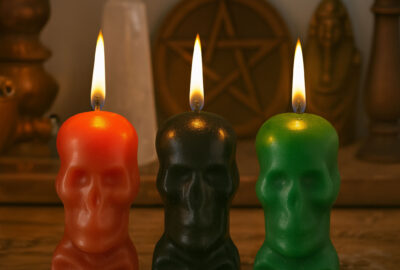
Choosing the Right Candle Type and Color for Your Spell
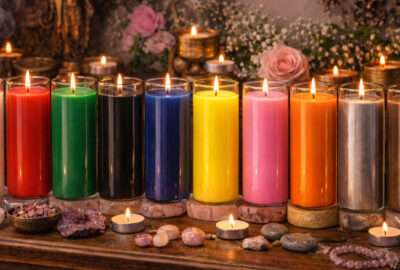
Choosing the right candle is the first act of alignment. Color, size, and type all shape the energy and rhythm of your work.
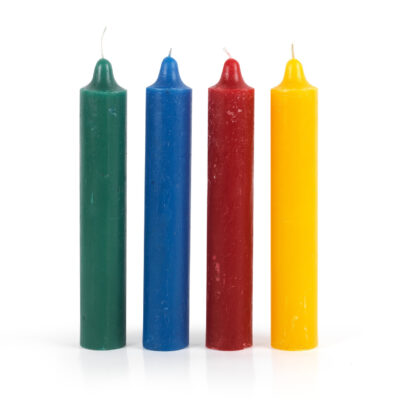
Candle color reflects intention. Red spell candles may support passion, green spell candles may bring prosperity, and black spell candles may offer protection and spiritual grounding. If you are unsure, a white spell candle can be used for nearly any purpose. For a deeper understanding, explore candle color meanings and how each shade aligns with spiritual goals.
The type of candle you choose determines how your spell unfolds over time.
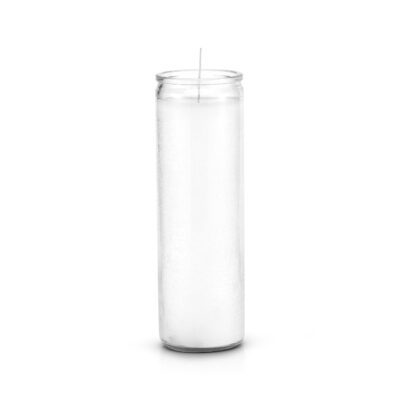
Seven-day candles are often used for long-term intentions that require steady focus. Their slow, continuous burn makes them ideal for ongoing prayers, protection work, or situations that need patience and consistency. Fourteen-day candles extend this even further, supporting deeper or more complex spiritual work that unfolds gradually.
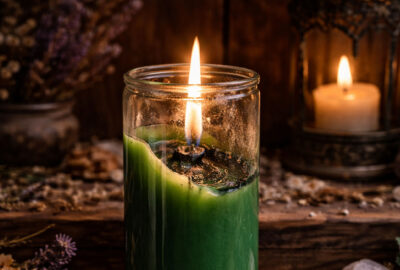
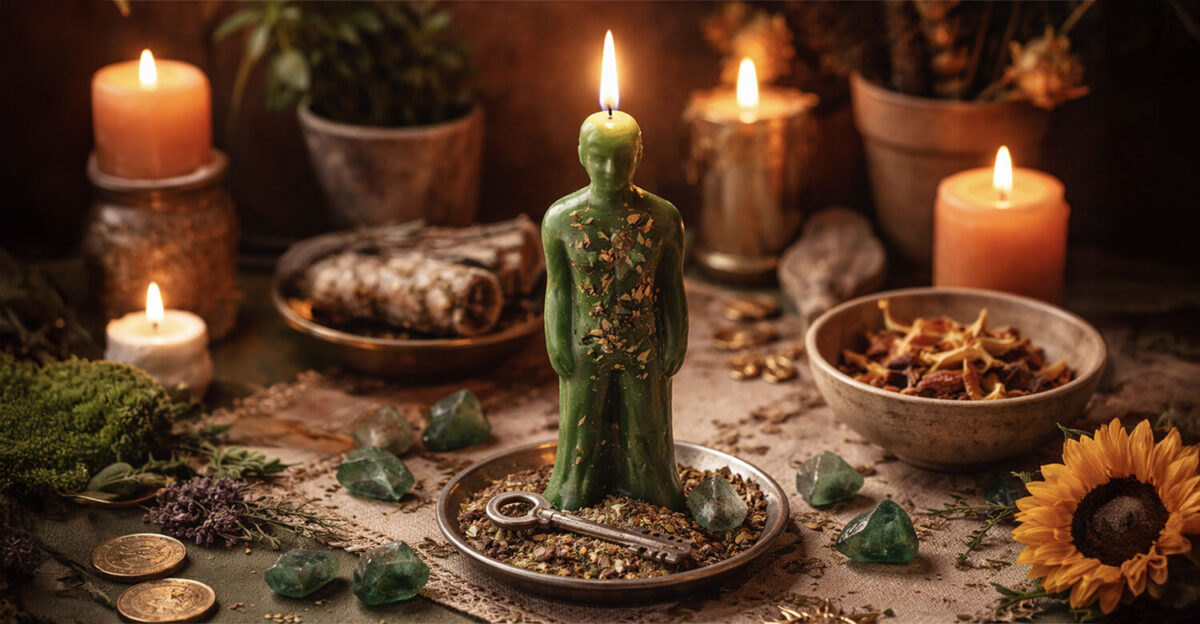
Image candles carry a more focused and symbolic energy. They are often used for specific intentions, prayers, or spiritual figures, helping to anchor your work through visual representation while maintaining steady intention over time.
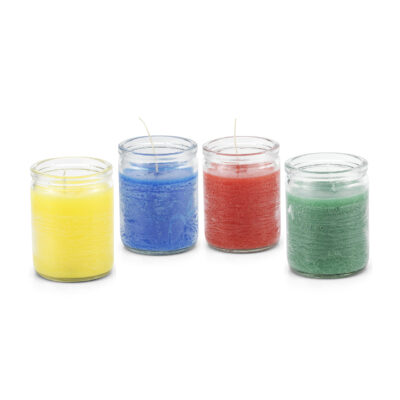
Household candles and jumbo candles are better suited for shorter, focused rituals. They burn more quickly, making them ideal when you want to direct energy toward a specific goal in a single sitting or over a short period.
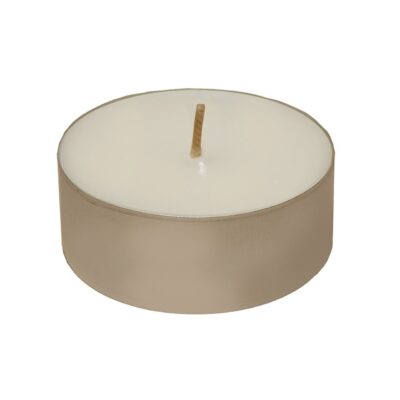
Tealight candles are often used for simple intentions, daily practices, or as supporting lights in larger rituals. Though small, they can be powerful when used with clarity and consistency.
Scented candles add another layer of energy through fragrance. Certain scents can support relaxation, attraction, or spiritual focus, helping to deepen your connection to the work.
As you choose your candle, consider not only what you want, but how you want the energy to move. A slow-burning candle invites patience and trust, while a fast-burning candle encourages focus and immediacy.
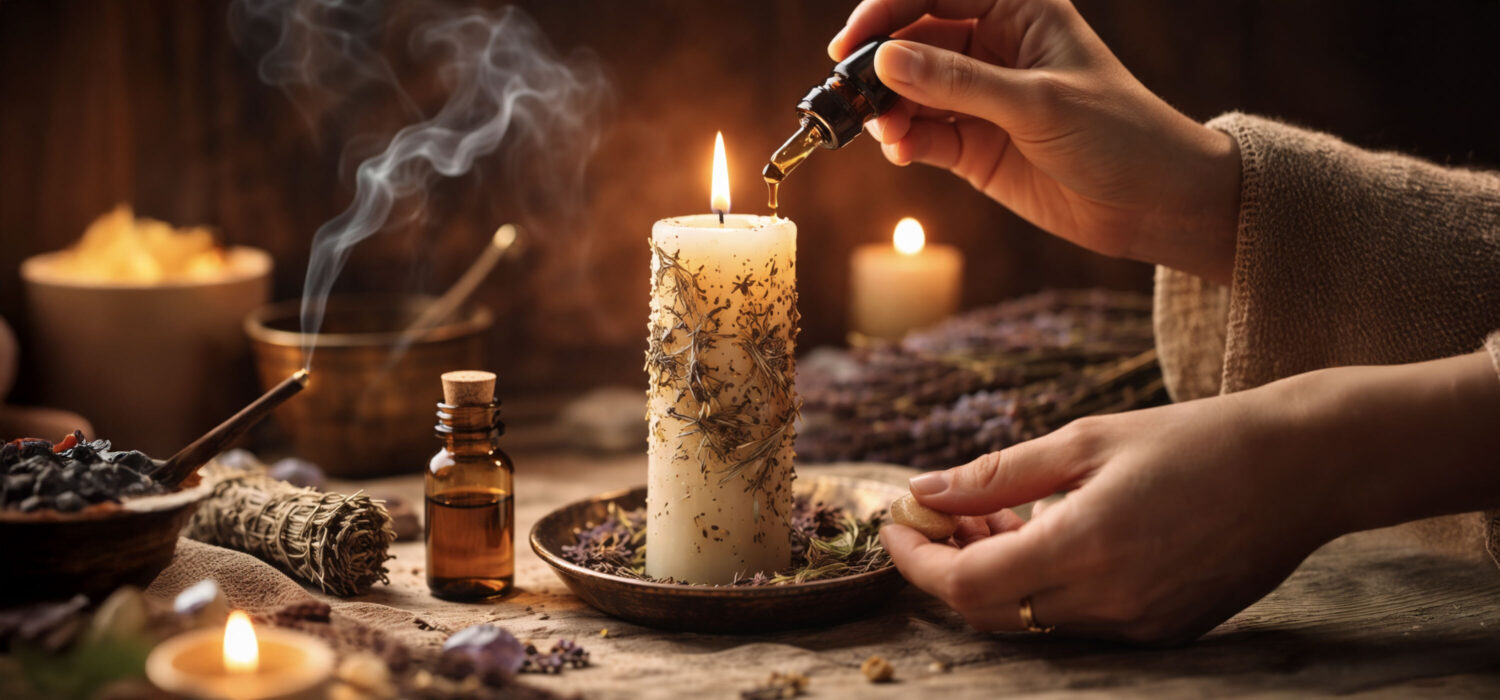
Personalizing Your Spell Candle with Intention
A spell candle becomes stronger when it is touched, focused on, and made personal. Even the simplest acts of attention can charge it with meaning.
Some practitioners choose to carve symbols or names into the wax. Others anoint the candle with oil or add herbs to strengthen its purpose. These steps help anchor your intention into the physical world and deepen your connection to the work.
If you would like to explore these techniques in detail, you can visit how to carve and dress candles properly for step-by-step guidance.
For now, focus on presence. Hold the candle in your hands. Breathe slowly. Let your intention settle into it as something real and already in motion.
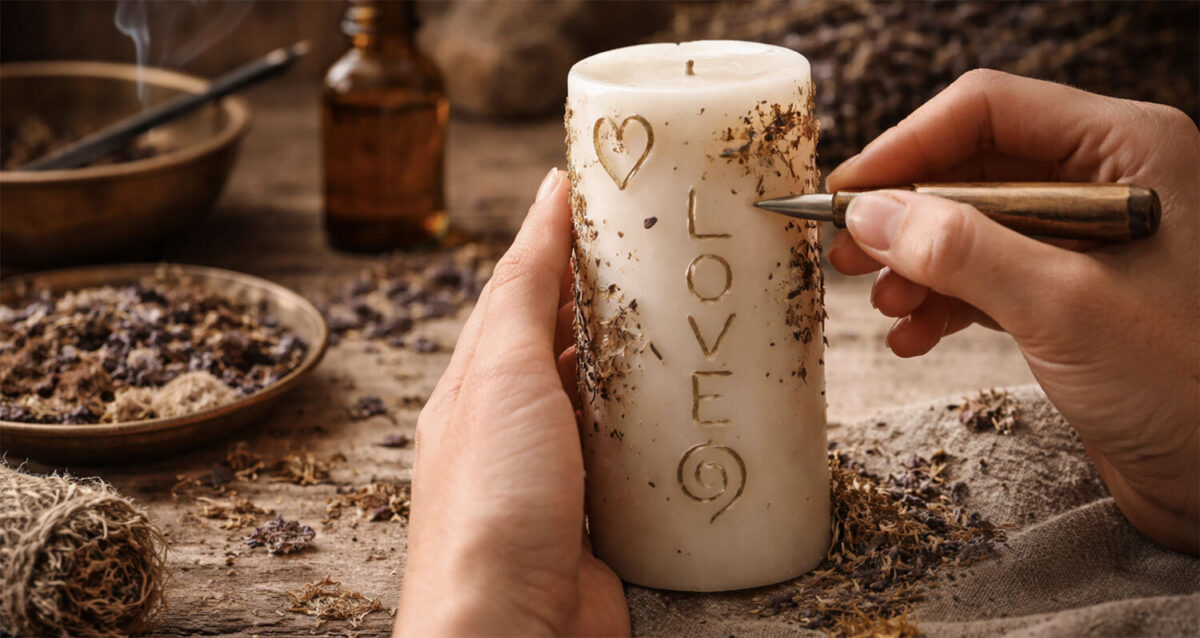
Carving, anointing, and focusing your energy helps anchor your intention into the candle and strengthen your work.
How to Activate a Spell Candle for Manifestation
Activation is the moment your candle becomes part of your spiritual work. It is not just lighting a wick. It is awakening intention.
Sit quietly with your candle before lighting it. Place your hands near it or gently around it. Visualize your goal as if it has already come to pass. See it clearly. Feel the emotions that come with it.
When you are ready, light the candle slowly and with purpose.
As the flame rises, speak your intention aloud:
With this flame, I bring my intention to life. What I seek is already on its way to me.
Remain present for a few moments. Let your focus settle into the flame. This is where your work begins.
How Long to Burn a Spell Candle for Best Results
How long you burn your spell candle depends on your intention, the type of candle you are using, and how you prefer to work with your energy.
Some practitioners choose to let a candle burn completely in one sitting. This is often done with smaller candles such as household candles or tealights, especially when the goal is focused and immediate. Allowing the candle to burn fully can symbolize a strong and direct release of intention.
For longer rituals, it is common to burn the candle in stages. You may light it for a set period each day, returning to your intention consistently. This approach works well with pillar candles and larger candles, where the energy is built gradually over time.
Seven-day and fourteen-day candles are worked over multiple days, but they should always be burned with care and awareness. Rather than leaving a candle burning continuously, it is safer to extinguish and relight it when you are present and able to tend to it.
Many practitioners choose to burn their candle at the same time each day, returning to their intention with consistency and focus. Each time you relight the flame, pause for a moment to reconnect with your goal so the energy remains steady and aligned.
There is no single correct method. What matters most is consistency and presence. A candle burned with clear focus for a short time can be just as powerful as one worked over many days.
As your candle burns, remain aware of its progress. If you are working with long-burning candles, you can deepen your understanding by exploring mistakes to avoid when burning a 7-day candle to keep your work aligned and uninterrupted.
Simple Spell Candle Rituals for Beginners
These rituals are designed to help you connect with candle magic in a clear and approachable way. Rather than focusing on a single outcome, they teach you how to work with intention, energy, and awareness.
Spell Candle Ritual for Clarity and Focus
This ritual helps clear mental fog and strengthen your ability to make aligned decisions. It is especially useful when you feel uncertain or overwhelmed. Gather the following ingredients before beginning.
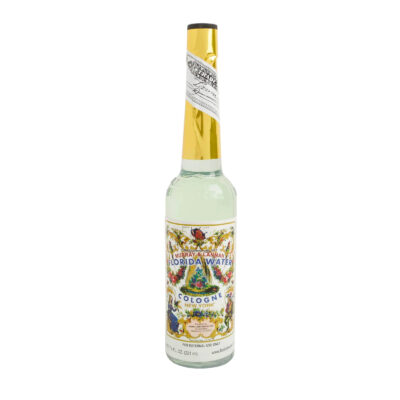
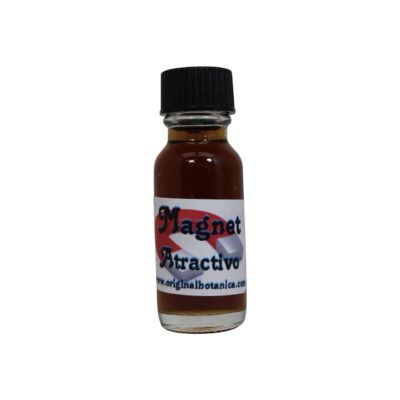
Begin by lightly cleansing your hands with Florida Water, allowing your thoughts to slow and settle. Hold the candle between your palms and take a deep breath, focusing on the situation that needs clarity.
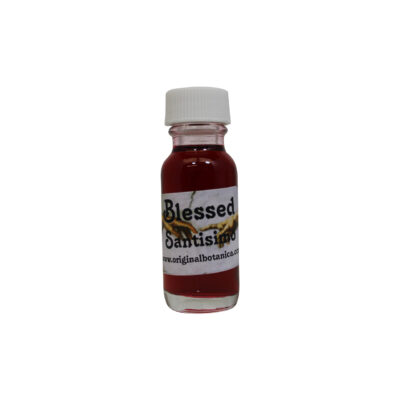
Anoint the candle with Magnet Oil, moving slowly as you focus on understanding and direction. As you light the flame, allow your mind to quiet rather than search for answers.
Speak softly:
Clarity is drawn to me. The answers I seek come easily and without confusion.
Sit with the candle for a few moments, observing the flame without forcing thought. When ready, snuff the candle gently and give thanks for the insight that is already forming.
Spell Candle Ritual for Energy Renewal
This ritual restores your energy and helps release emotional heaviness. It is ideal after stressful days or when you feel spiritually drained. You will need the following components to perform this ritual.
Begin by placing a small amount of Florida Water on your hands, allowing its scent to awaken your senses. Hold the candle and take slow breaths, releasing tension with each exhale.
Anoint the candle with Blessing Oil, focusing on renewal and balance. As you light the flame, imagine your energy becoming steady and restored.
Speak with intention:
My energy is renewed. I am balanced, restored, and at peace.
Allow yourself to sit quietly as the candle burns. When you feel ready, snuff the flame and rest, trusting that your energy continues to rebuild.
Spell Candle Ritual for Intention Setting
This ritual anchors a new goal or desire and can be used for any purpose. It is a strong foundation for deeper work. As you prepare, collect these sacred items.
Begin by lighting the Attraction Incense, allowing the smoke to move gently through your space. Hold the candle and bring your intention clearly into your mind, shaping it into a single focused thought.
Anoint the candle with Attraction Oil, moving with care and attention. As you light the candle, visualize your intention as already fulfilled.
Speak clearly:
What I seek is already mine. I welcome it into my life with trust and openness.
Remain present with the flame, allowing your intention to settle fully. When complete, snuff the candle and release attachment, trusting the work to unfold naturally.
A road opening candle ritual invites new paths, removes obstacles, and clears the way forward with focused intention.
Common Spell Candle Intentions to Explore
As you grow more comfortable with candle work, you may feel called to focus your intention more specifically. Each path carries its own energy and approach.
You can deepen your practice by exploring:
- Love and attraction
- Protection and spiritual defense
- Prosperity and money drawing
- Road opening and opportunity
- Healing and emotional balance
- Cleansing and uncrossing
- Success and confidence
- Peace and reconciliation
Each of these intentions can be approached through candle magic in unique ways, allowing you to build a practice that is both personal and deeply aligned.
Working with Timing and Spiritual Energy
Timing can gently strengthen your work. Some practitioners align their rituals with lunar cycles, using growth phases to attract and release phases to let go. You can explore this further through moon phases and their spiritual meanings.
Days of the week also carry distinct energies that can support your intention. Aligning your work with these rhythms can add another layer of meaning and focus.
These elements are not required, but they can deepen your connection over time.
Observing the Flame and Spiritual Signs
As your candle burns, it may reveal subtle signs about your work. The strength of the flame, the clarity of the glass, and the way the wax melts can all carry meaning.
Observe with calm awareness rather than urgency. If you feel called to explore this more deeply, you can learn more through interpreting how your candle burns.
Closing the Ritual and Releasing the Work
Closing your ritual is part of completing the work. When you are ready, take a moment to express gratitude for what has been set in motion.
Snuff the candle gently rather than blowing it out. Allow the energy to settle and continue beyond the flame.
When your candle has completed its purpose, release it respectfully. You can explore this further through how to properly dispose of a spell candle.
Spiritual Insights and Everyday Candle Magic
Working with spell candles teaches patience, clarity, and trust. It reminds you that intention must be felt, not just spoken.
Even outside of ritual, you can light a candle with purpose. A quiet moment, a steady flame, and a clear thought can reconnect you to your path.
Over time, you may find that the practice changes you just as much as it shapes your circumstances.
FAQs About Making Spell Candles
Do you need to carve a spell candle for it to work?
No. Personalization helps, but your intention is the most important element.
Do you need oils or incense for candle magic?
They enhance the ritual, but they are not required. Your focus carries the greatest power.
How do you know if your spell candle is working?
You may notice subtle shifts in your energy, thoughts, or environment. Candle behavior can also offer insight, but results often unfold gradually. Trust the process and remain consistent in your intention.
How long should a spell candle take to work?
Some intentions begin to shift quickly, while others take time to unfold. The timing depends on the goal, your consistency, and the energy surrounding the situation.
Can you relight a spell candle after putting it out?
Yes. Return to your intention each time you light it to keep the energy consistent.
What if my candle burns unevenly?
Stay calm and observant. Variations are not always negative and may simply reflect shifting energy.
Is one candle enough for a spell?
For most intentions, yes. Simplicity often leads to stronger focus and clearer results.
To make a spell candle is to take something simple and fill it with meaning. It is a quiet act of intention, where your focus meets the steady language of flame. With time and practice, you may come to see that the true power is not only in the candle itself, but in your ability to shape energy with clarity, trust, and belief in what is already unfolding.